
METER AND GAUGES — Instrument Pack — Disassembly / Installation
EL-87prose procedureFlexible PCB is replaceable but rigid PCB / digital clock / SMT components are not — covers older repair-shop assumptions while protecting modern SMT parts.
Instrument Pack — Disassembly
NOTE
Component parts of the instrument pack which can be replaced are as follows:
Parts Diagram
Diagram image not available
CAUTION
• Gauges, rigid pcbs, digital clock and pcb components are not serviceable and must be replaced as a complete unit.
To disassemble
- 1Unclip and remove front cover and upper housing.
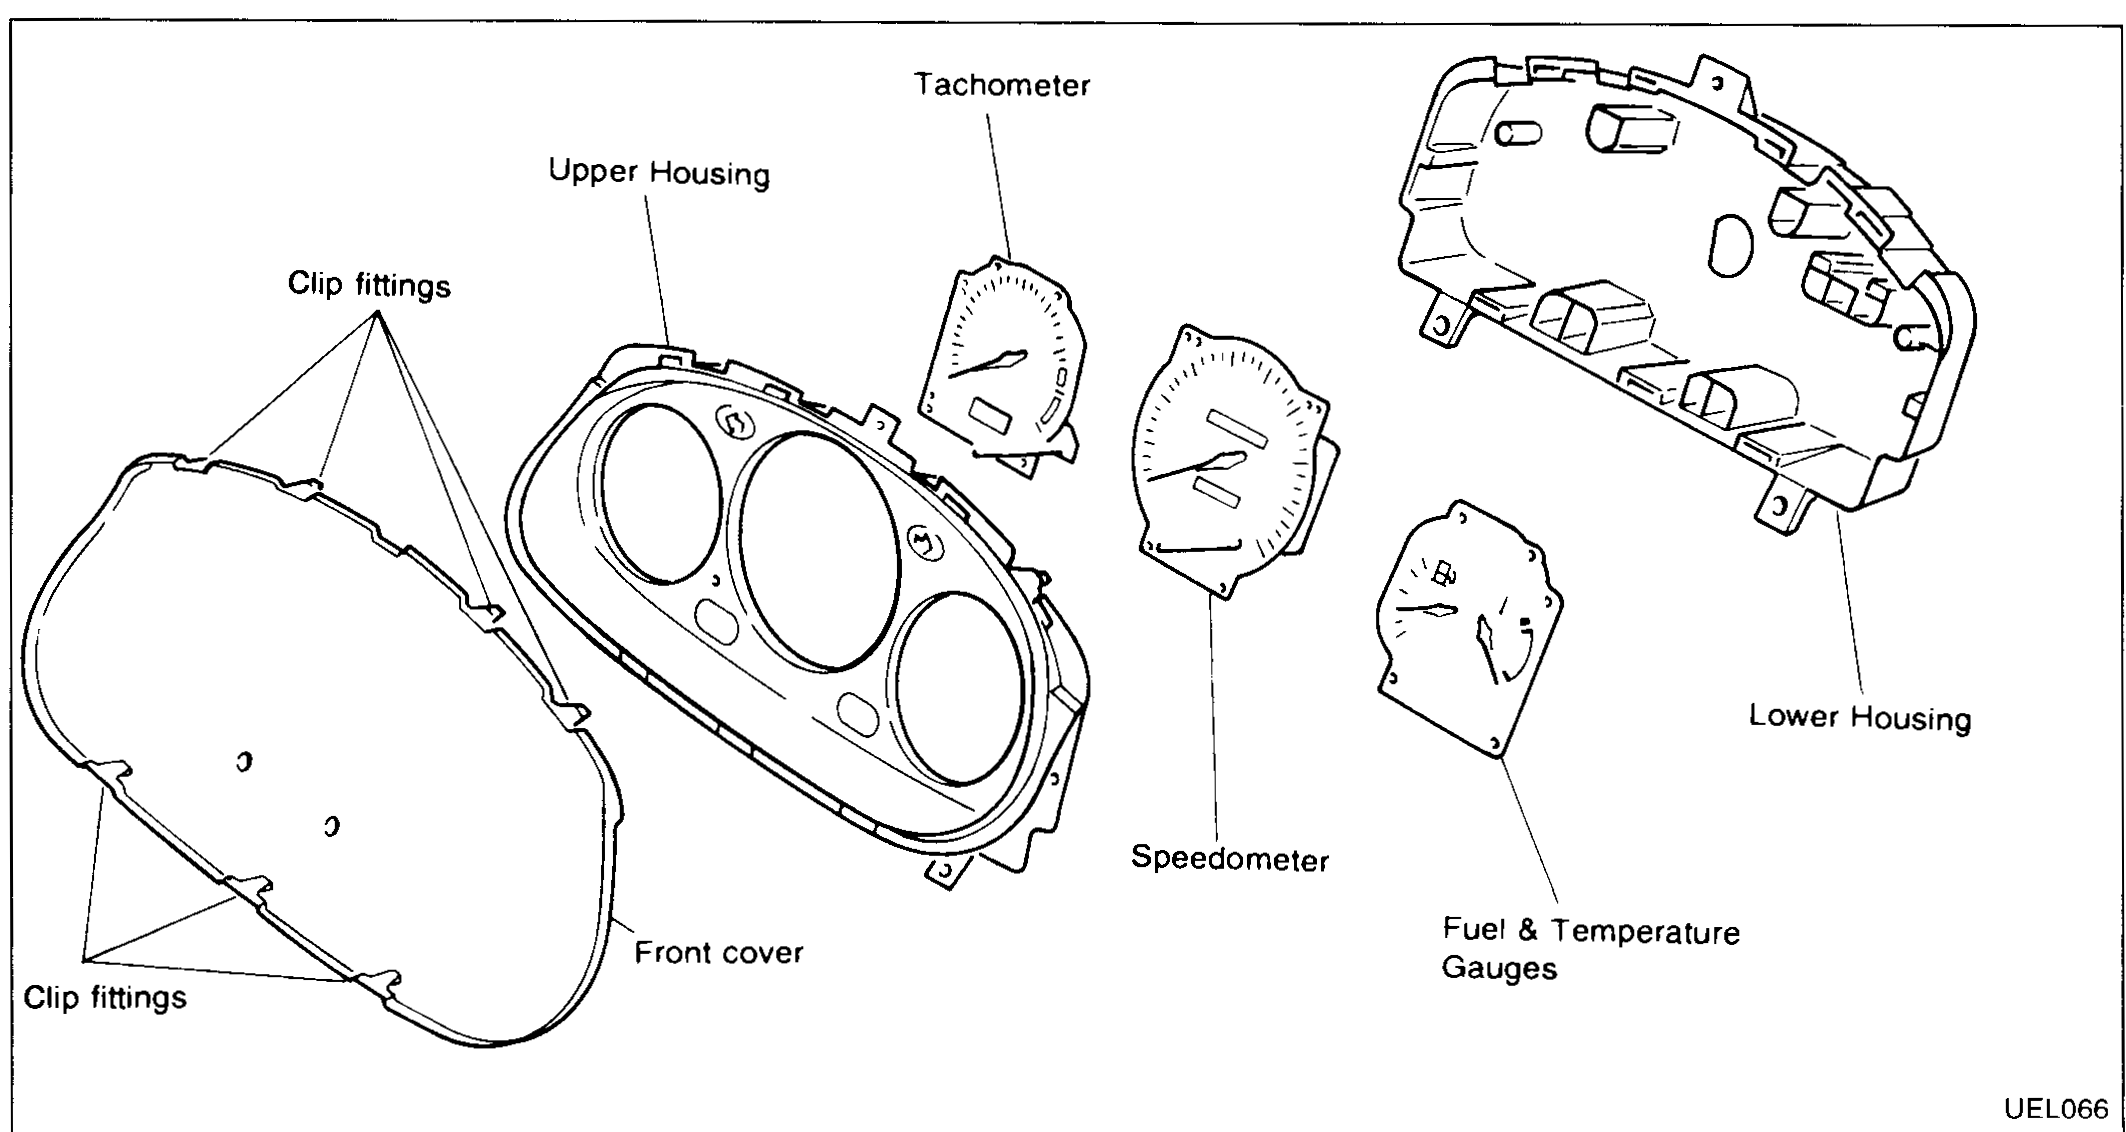 UEL066
 - 2Remove nuts from rear of meter to remove fuel, temperature and tachometer gauges.
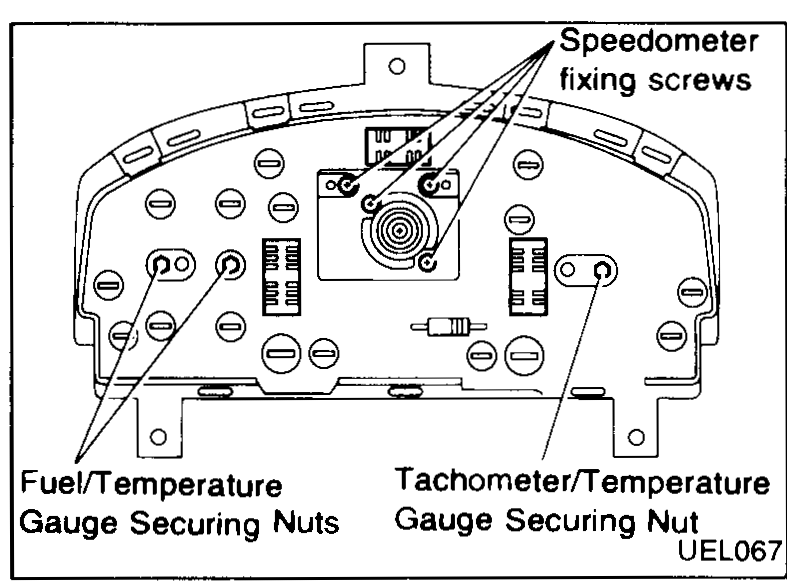 UEL067
 - 3Remove 4 screws from raised area of rear of instrument pack to remove speedometer.
- 4Warning lenses can be removed by unclipping from back of upper housing; take care not to damage lens surface when refitting.
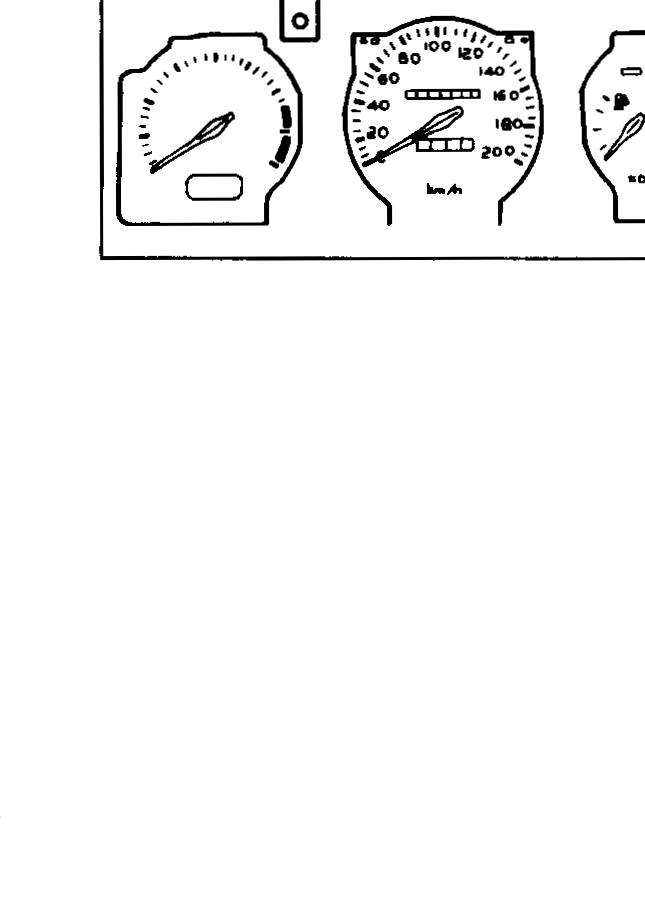 UEL068
CAUTION
Take care not to scratch faces of gauges or bend pointers. Do not place gauges face down.
Installation
NOTE
Component parts can be fitted using the inverse procedure to removal.
• Instrument pack disassembly and repair should be performed in a clean dust-free environment to prevent damage to the moving gauges.