
CHARGING SYSTEM — Alternator — Refitting (Cont'd) / Removal (no P/S, no A/C) / Refitting / Disassembly
EL-37prose procedureNo-P/S-no-A/C variant uses a simple two-pulley V-belt with the alternator itself as the tensioner (slide on its slot). Brush holder + power transistor + connector are a single soldered assembly — no piecewise replacement.
Refitting (Cont'd) — cars with P/S and/or A/C
| Specification | Value |
|---|---|
| Upper fixing bolt | 15.7 - 20.6N·m (1.6 - 2.1 kg-m) |
| Lower fixing bolt | 37.3 - 50N·m (3.8 - 5.1 kg-m) |
| Alternator securing bolt | 37.3 - 50N·m (3.8 - 5.1 kg-m) |
| Adjusting plate bolt | 15.9 - 20.6N·m (1.6 - 2.1 kg-m) |
Upper fixing bolt
15.7 - 20.6N·m (1.6 - 2.1 kg-m)
Lower fixing bolt
37.3 - 50N·m (3.8 - 5.1 kg-m)
Alternator securing bolt
37.3 - 50N·m (3.8 - 5.1 kg-m)
Adjusting plate bolt
15.9 - 20.6N·m (1.6 - 2.1 kg-m)
Removal — for vehicles without power steering and/or air conditioning
- 1Remove battery negative lead from battery.
- 2Remove lower alternator fixing bolt.
- 3Remove power supply cable.
- 4Disconnect harness connector.
- 5Slacken alternator securing bolt.
- 6Slacken drive belt by slackening alternator adjusting bolt (anti-clockwise) and moving alternator.
 UEL039
 - 7Remove alternator upper securing bolt and remove alternator.
Refitting
NOTE
• Installation of the alternator is the reverse of the removal procedure.
• Tighten bolts to the torque figures specified.
• Refer to MA section for full details of belt tensioning specifications.
Disassembly
- 1Remove alternator from vehicle as described previously.
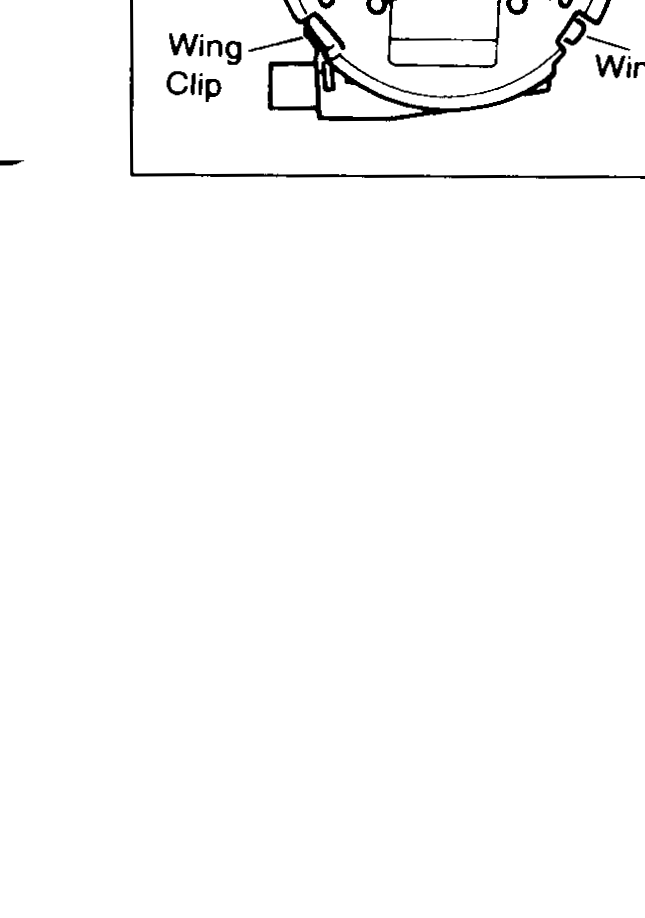
- 2Remove bolts (3) from back cover.
 UEL040
 - 3Pull out wing clips (3) and remove back cover.
- 4To remove brushes, remove two screws connecting connector/brush assembly to body.
- The brushes and power transistor are soldered to the connector p.c.b., replace complete unit if brush holder, power transistor or connector is found to be faulty.