
ASSEMBLY - Assembly (Cont'd)
AT-121prose procedurePrinted 'lb-in' range '17 - 16' appears reversed (should likely be 17 - 69 lb-in given the 20 - 80 kg-cm conversion); preserved verbatim as printed.
Assembly (Cont'd)
Assembly steps 41-51
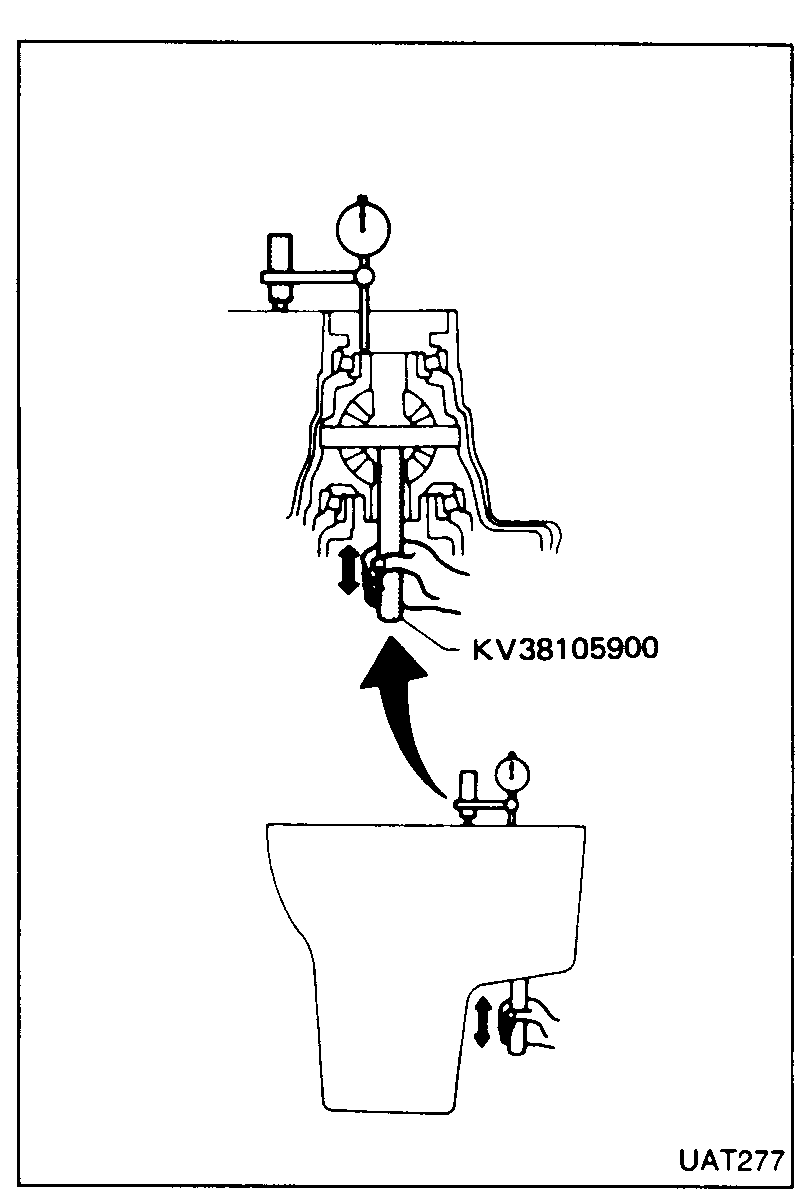
- 41Set dial gauge onto differential case as shown.
 UAT277
 - 42Insert Tool and move up and down. Measure gauge deflection.
- 43Select correct shim from S.D.S. table.
- 44Install shim.
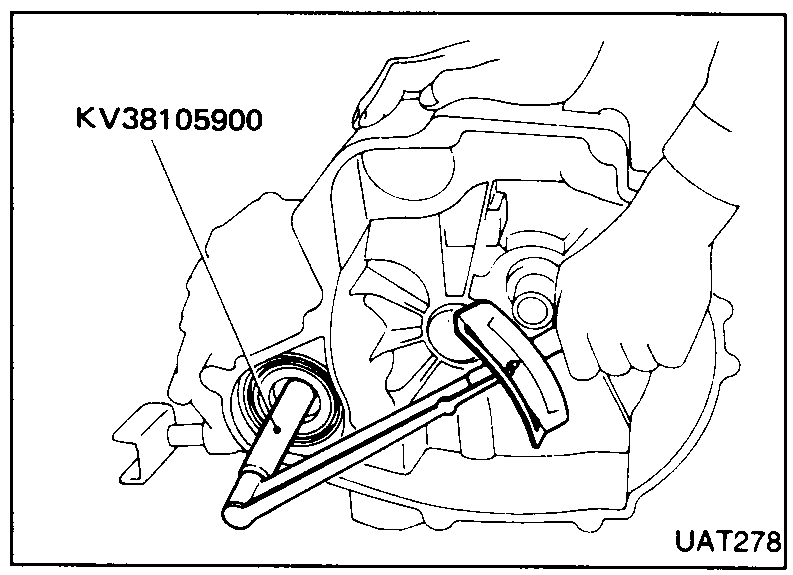
- 45Reassemble final drive/clutch housing.
 UAT278
 - 46Tighten bolts.
- 47Measure turning torque. Turning torque = (new bearing) 2.0 - 7.8 N·m (20 - 80 kg-cm, 17 - 16 lb-in)Old bearing may be slightly less torque.
- 48Apply liquid gasket to mating surfaces.
 UAT262
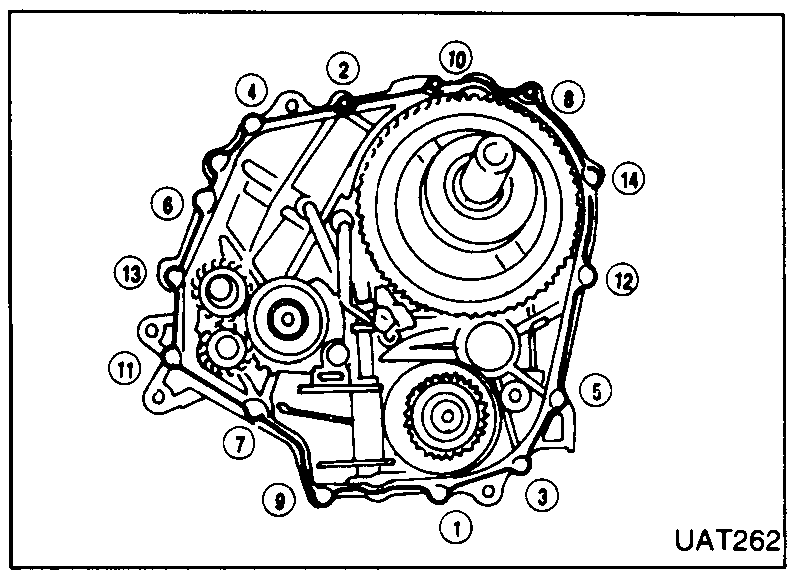
 - 49Fit the clutch housing on to the transmission.Turn the input shaft to assist gear mesh and housing location.
- 50Tighten the bolts in the sequence shown. Torque 23 - 26 N·m (2.4 - 2.7 kg-m, 17 - 20 ft-lb)
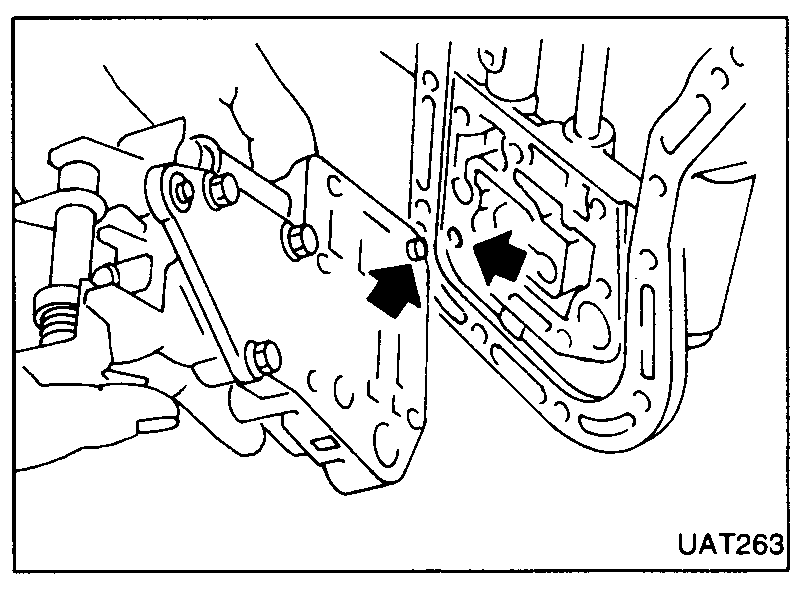
- 51Fit the control valve (with holder Tool) on to the transmission.
 UAT263
See also
S.D.S.