
INTERIOR AND EXTERIOR — Exterior (Cont'd) — Hood / Cowl / Windshield Molding
BF-34prose procedureMethod 1 is the partial-molding repair (just the top portion). Method 2 is the full replacement with primer + sealant + double-faced adhesive tape. The vehicle-centerline alignment mark on the new molding is the key registration feature for Method 2.
Exterior (Cont'd)
(1) Hood front sealing rubber
Parts Diagram
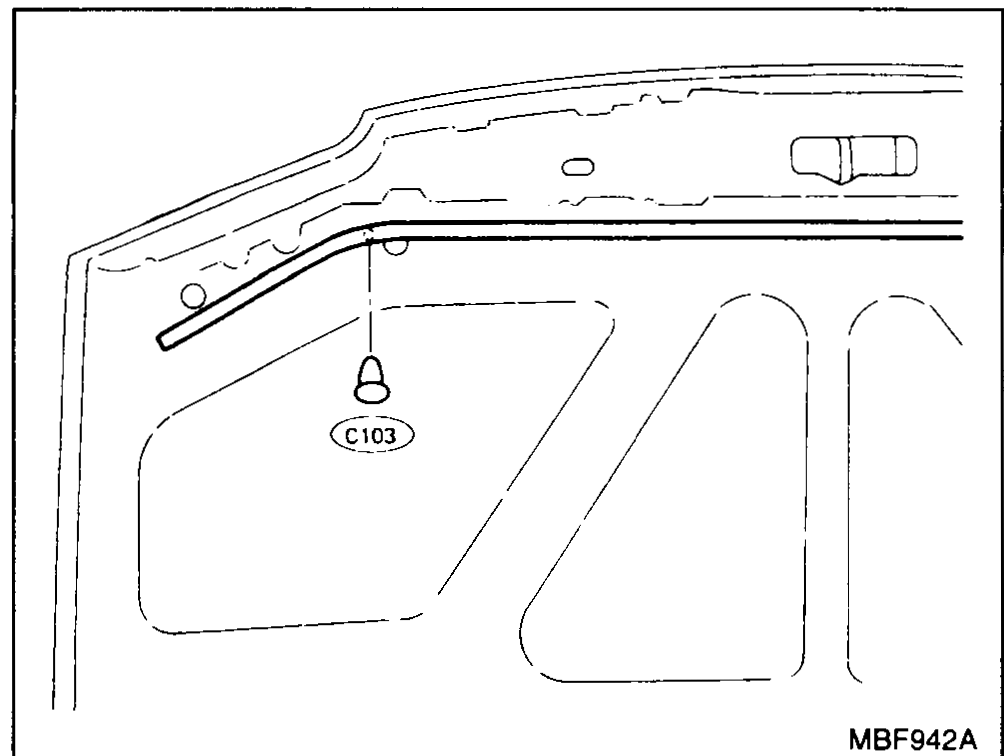
(2)(3) Cowl top grill and cowl top front sealing rubber
Parts Diagram
(4) Windshield molding
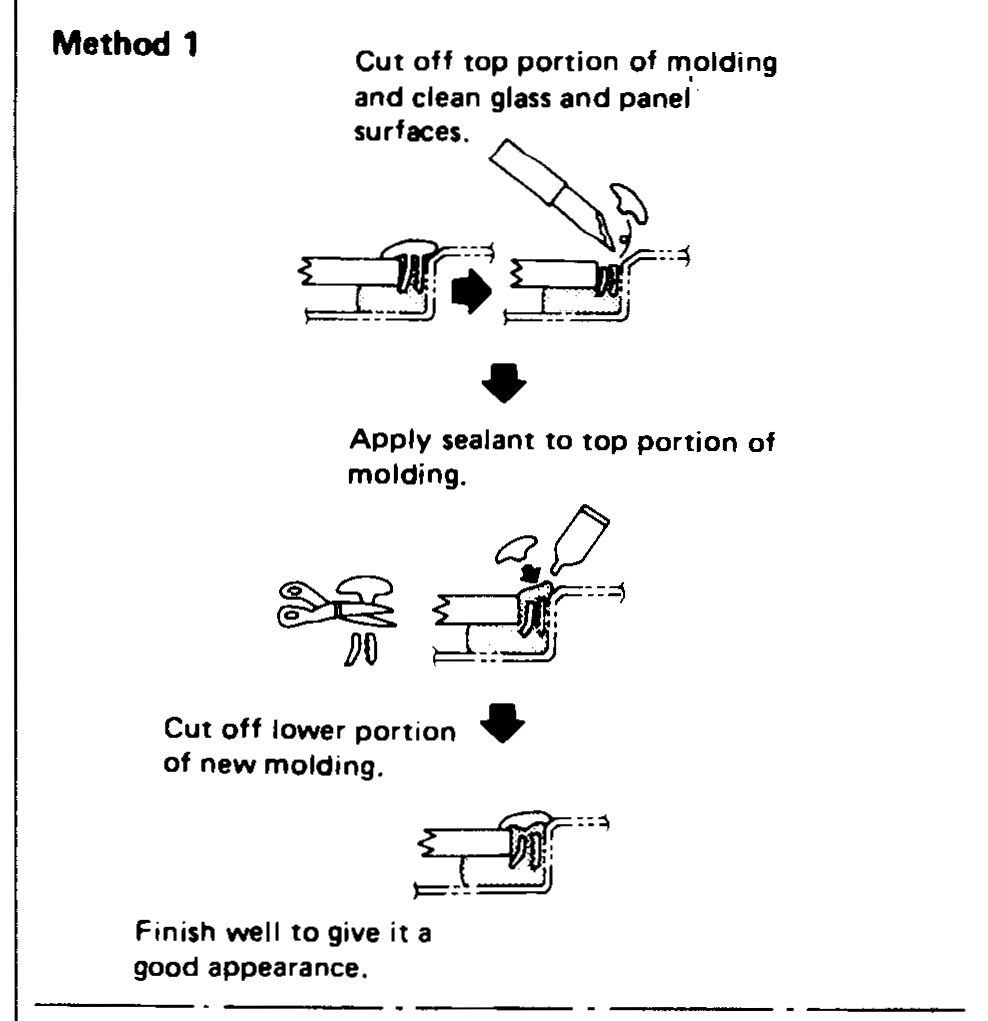
Method 1
Windshield molding — Method 1 (partial replacement)
- 1Cut off top portion of molding and clean glass and panel surfaces.
 SBF161E
 - 2Apply sealant to top portion of molding.
- 3Cut off lower portion of new molding.
- 4Finish well to give it a good appearance.
Method 2
Windshield molding — Method 2 (full replacement with primer/adhesive)
- 1Cut off sealant at glass end.
- 2Clean the side on which panel was mounted.
- 3Set molding fastener and apply sealant to body panel, and apply primer to molding and body.Cross-section: Apply primer → Fastener → Glass → Double-faced adhesive tape → Dam rubber → Sealant → Apply primer.
 SBF161E
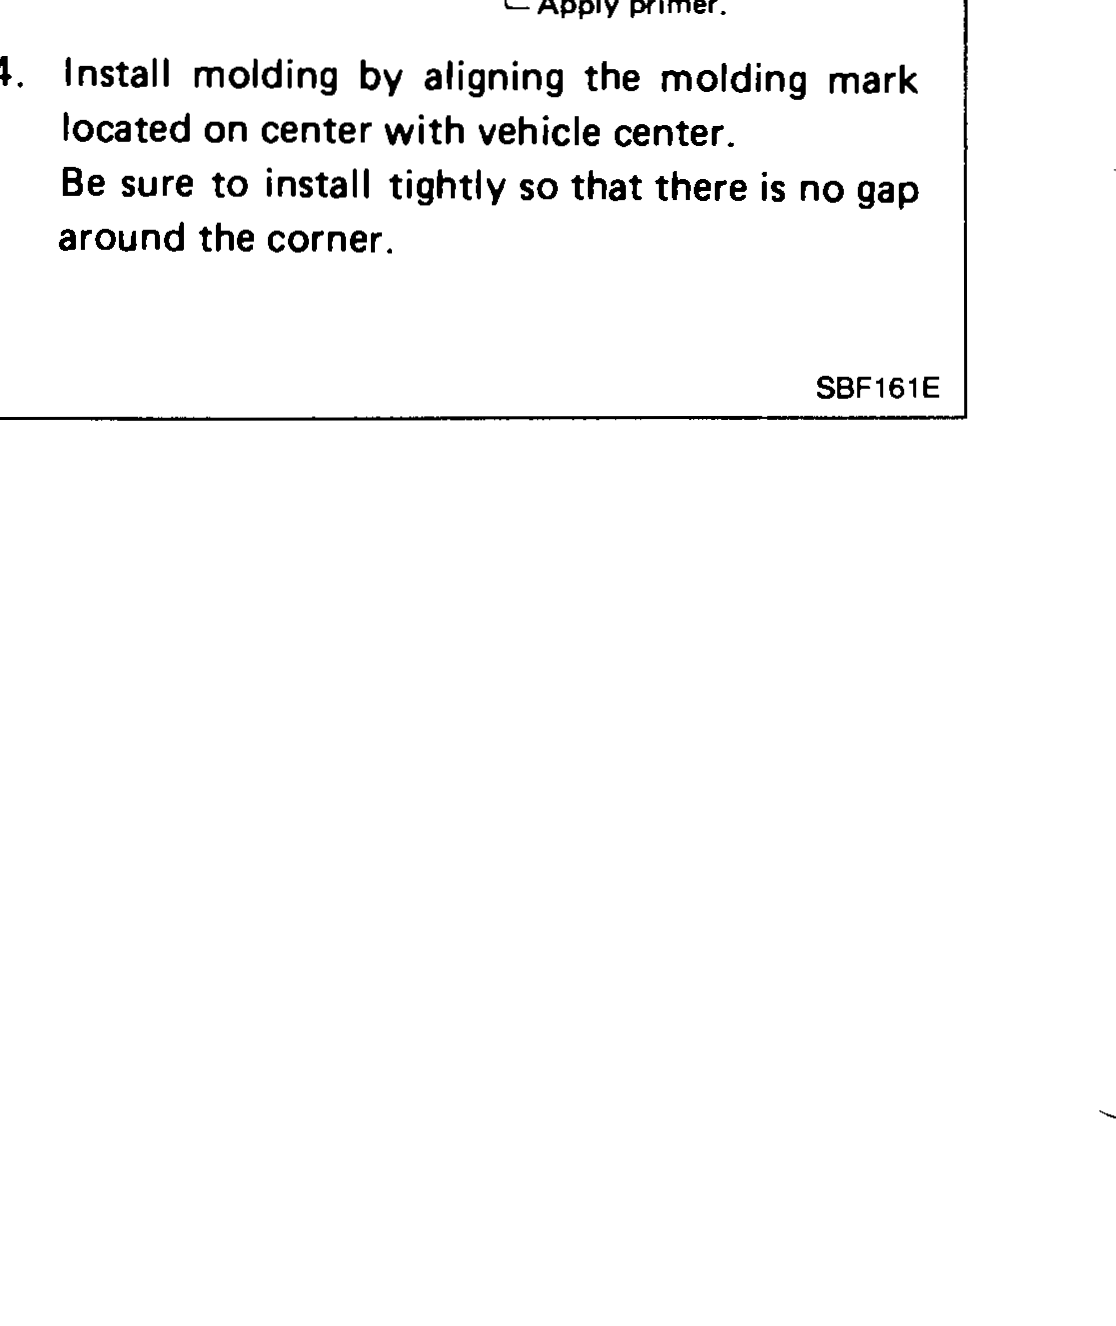
 - 4Install molding by aligning the molding mark located on center with vehicle center. Be sure to install tightly so that there is no gap around the corner.