
FRONT SUSPENSION — Transverse Link and Lower Ball Joint (Removal and Installation / Inspection)
FA-22prose procedureRemoval and Installation
Transverse link and lower ball joint removal and installation
- 1Remove ball joint and transverse link assembly, as shown.During installation, final tightening must be done at curb weight with tires on ground.Front link bolt must be fitted loosely before rear bracket bolts are tightened.After installation, check wheel alignment. Refer to "Front Wheel Alignment" of CHECK AND ADJUSTMENT — On-vehicle.
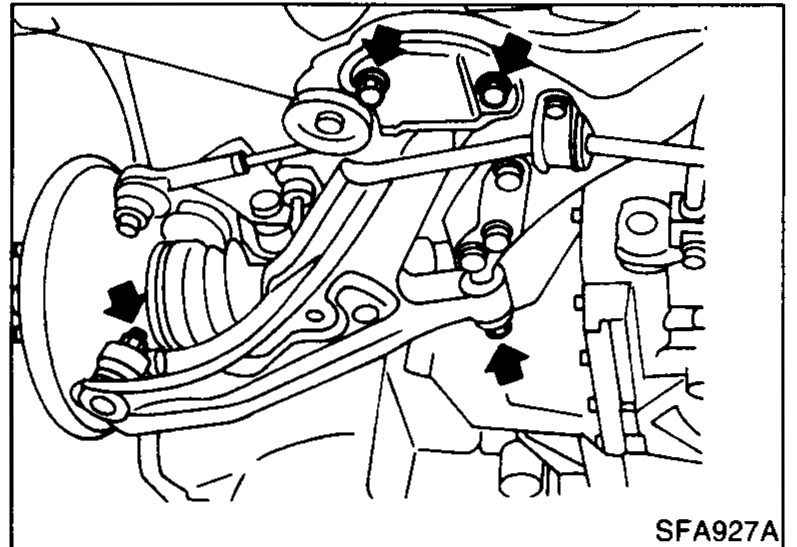 SFA927A
Inspection
TRANSVERSE LINK
Check transverse link for damage, cracks or deformation. Replace it if necessary.
Check rubber bushing for damage, cracks and deformation. Replace transverse link if necessary.
LOWER BALL JOINT
Check ball joint for play. If ball stud is worn, play in axial direction is excessive or joint is tight, replace transverse link assembly.
NOTE
Axial end play — Before checking, turn ball joint at least 10 revolutions so that ball joint is properly broken in.
| Specification | Value |
|---|---|
| Axial end play "A" (lower ball joint) | 0mm (0 in) |
Axial end play "A" (lower ball joint)
0mm (0 in)
See also
CHECK AND ADJUSTMENT — Front Wheel Alignment (On-vehicle)