
FUEL SYSTEM — Fuel Gauge Sender Unit Removal (Cont'd) / Installation
FE-6prose procedureFuel Gauge Sender Unit Removal (Cont'd)
Fuel gauge sender unit removal (continued)
- 9Remove the locking ring from the fuel tank, using SST KV999G0010.
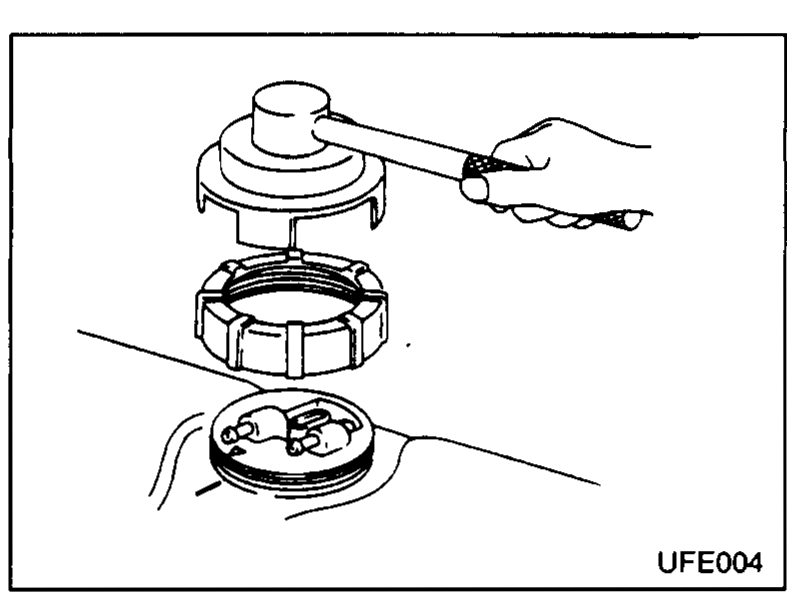 UFE004
 - 10Lift fuel tank access cover and disconnect hoses and connectors from the underside.
 UFE049
 - 11If "Consult" is not available, pump out the tank through the tank access aperture.
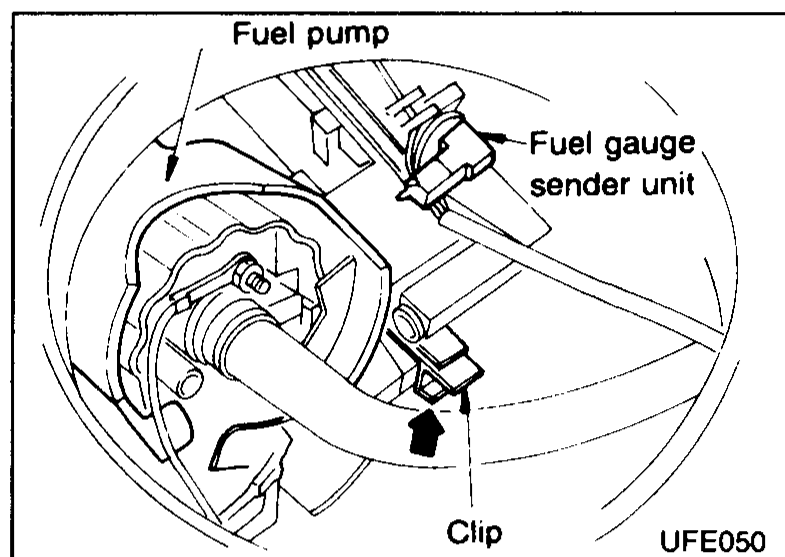
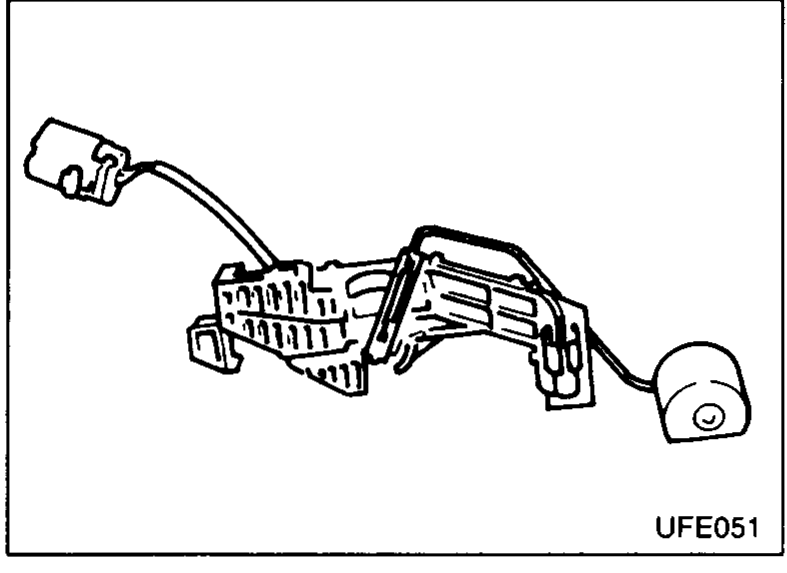
- 12The fuel gauge sender unit is fitted onto the fuel pump support bracket. Remove fuel gauge by pulling the clip as indicated and move the fuel gauge sender unit upwards. The "Low Fuel" warning light switch is fitted onto the fuel gauge sender unit.The 'Low Fuel' warning light switch is fitted onto the fuel gauge sender unit.
 UFE050
Fuel gauge sender unit installation
- 1Fit fuel gauge sender unit onto the fuel pump housing.
- 2Fit new seal to fuel tank as shown.Ensure all seal contact faces are damage free.
 UFE005
 - 3Connect hoses and connectors to the fuel tank access cover. Ensure that the fuel hoses are fitted correctly. Check arrows on the ports on top of the access cover.