
REAR SUSPENSION
RA-8prose procedureABS harness disconnection is conditional (if fitted). Disc-brake and drum-brake variants share the same removal flow.
Removal and Installation
CAUTION
Do not jack up at the axle crossmember or Panhard rod
Rear suspension — removal and installation
- 1Remove suspension assembly.
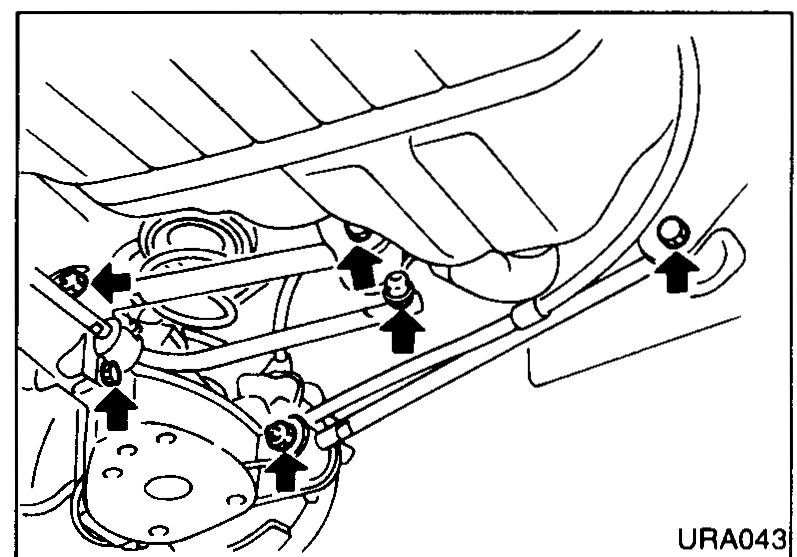 URA043
 - 2Remove brake caliper assembly and rotor (disc brake). Remove drum and disconnect handbrake cable (drum brake). Disconnect rear brake lines (drum brake).
- 3Remove strut upper securing nuts and rubber bushes.
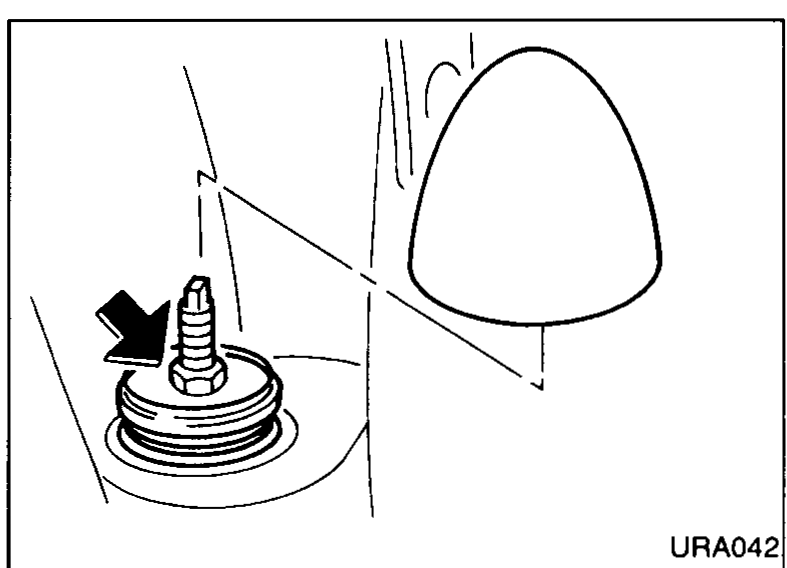 URA042
 - 4Support the axle assembly with a transmission jack.
- 5Disconnect the ABS harness (if fitted) and the load sensing valve.
- 6Disconnect the lower link, upper link, and Panhard rod. Carefully lower the axle, releasing the coil springs as the jack descends.
Inspection
Check for smooth operation through a full stroke, both compression and extension.
Check for oil leakage occurring on welded or gland packing portions.
Check piston rod for cracks, deformation or other damage. Replace if necessary.
SPRING RUBBER SEAT AND DUST COVER
Check rubber parts for deterioration or cracks. Replace if necessary.
COIL SPRING
Check for cracks, deformation or other damage. Replace if necessary.
Assembly
Rear suspension — assembly
- 1Ensure that the coil spring is seated correctly in the axle (paint identification marks on the lower side).
- 2Raise the axle assembly on the jack to meet the body. Guide the springs and shock absorbers to correct locations. Note that the springs must be compressed slightly to align the links and panhard rod.
- 3Before final tightening of the links and rod securing bolts, lower the car to the ground and ensure it is in unladen condition.